Modern vehicle diagnostics often feel like a descent into a digital labyrinth where proprietary software and four-figure scan tools hold all the answers. However, seasoned technicians realize that the most elusive drivability issues—ranging from lean codes to erratic shift patterns—frequently stem from mechanical breaches that digital sensors merely report rather than locate. When an exhaust leak occurs upstream of the catalytic converter, it doesn’t just create noise; it compromises the oxygen sensor’s ability to provide accurate data to the ECU. This ‘false lean’ condition forces the computer to dump excess fuel, which can eventually lead to transmission failures and premature engine wear due to oil dilution. Mastering the hidden world of vehicle diagnostics requires knowing when to put down the scanner and pick up a bottle of soapy water.
Stop Chasing Ghost Codes and Start Testing Backpressure
An exhaust leak is a master of disguise. Small fractures in the manifold or pinholes in the flex pipe can pull oxygen into the system during the exhaust pulse’s vacuum phase. This extra oxygen tricks the O2 sensor into reporting a lean mixture, even if the engine is running rich. The ECU responds by increasing fuel trim, leading to carbon buildup and ruined gas mileage. While many shops will suggest a full car service to replace sensors, the root cause is often a $5 gasket or a microscopic crack. Professionals often utilize a technique similar to the 12-dollar vacuum leak trick, but modified for the high-heat environment of the exhaust system. By using a common household spray bottle filled with a concentrated dish soap solution and a shop vacuum set to ‘blow’ into the tailpipe, you can create a pressurized environment that reveals leaks in seconds via growing bubbles.
Why Soapy Water Beats the $1,000 Smoke Machine
While expensive smoke machines are the gold standard in many high-end auto repair facilities, they have limitations. Smoke is sensitive to wind and can be difficult to see in cramped engine bays or above heat shields. In contrast, the ‘soap and blower’ method provides a physical manifestation of the leak—large, undeniable bubbles. This method relies on positive pressure, ensuring that even the smallest hairline fracture is forced to reveal itself. According to research from the Society of Automotive Engineers (SAE), maintaining exhaust system integrity is critical for the secondary air injection and catalyst efficiency monitors to complete their drive cycles correctly. If your vehicle is struggling with emissions, this $8 diagnostic hack is your first line of defense before paying for specialized labor.
Is a Micro-Crack Tricking Your Adaptive Transmission?
It sounds counterintuitive, but your exhaust health directly impacts how your car shifts. Modern vehicles use ‘load-based’ shifting logic. If the engine is struggling with a false lean condition caused by a manifold leak, the calculated load will be incorrect. This often leads to the automatic transmission hesitating on hills or shifting harshly as the ECU tries to compensate for the perceived lack of torque. If you’ve noticed your car feels sluggish or ‘hunts’ for gears, don’t immediately assume the worst about your gearbox. A quick pressure test of the exhaust manifold might save you thousands in unnecessary transmission work. If you are a professional looking to sharpen your diagnostic edge, consider sharing your findings on our community board to help others identify these ‘phantom’ mechanical failures. Reach out to our expert team if you need a deeper dive into complex diagnostic scenarios.
Thermal dynamics play a significant role in diagnostic confusion, particularly when dealing with metal components like exhaust manifolds and cylinder heads. A hairline fracture in a cast-iron manifold might only be wide enough to pull in unmetered air during a cold start. As the engine reaches operating temperature, the metal expands, effectively sealing the crack and causing the ‘lean’ code to disappear or become intermittent. This phenomenon often leads DIYers and even some professionals to chase oxygen sensor failures when the issue is purely structural. If you’ve noticed your engine runs perfectly until it warms up, or vice-versa, you are likely dealing with a thermal expansion issue rather than a purely electronic failure. This is why testing during the specific temperature window where the symptom occurs is paramount for accuracy. 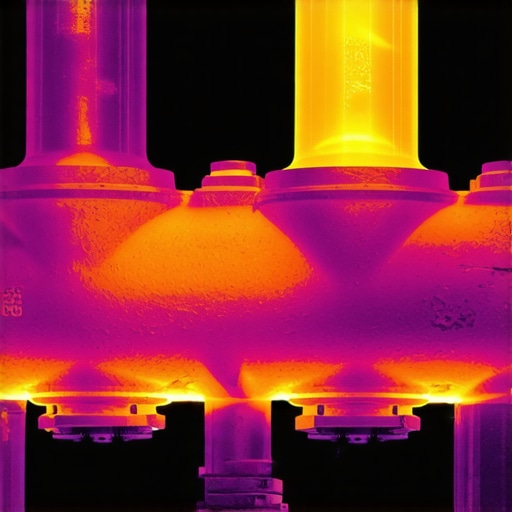
Thermal Expansion and the Mystery of the Self-Healing Gasket
Metal expansion isn’t the only mechanical variable that can throw off a sensor. A failing gasket can act like a one-way valve, creating a vacuum leak that only manifests under specific manifold pressures. This is where many fail to understand the hidden world of vehicle diagnostics fully. Instead of replacing sensors based on a code, an expert technician looks at Short-Term Fuel Trim (STFT) data in real-time. If the STFT drops significantly when you increase engine RPM, you are almost certainly looking at a vacuum leak rather than a fuel delivery problem. For those working at home, utilizing a 15-dollar vacuum leak trick can pinpoint these issues before they escalate into expensive repairs or damage your catalytic converter.
Does Your Scan Tool See the Whole Truth?
While a basic OBD-II reader is a start, it often ignores the nuanced data streams required to find ‘ghost’ issues. For instance, intermittent starting problems are frequently blamed on the battery or starter, yet the culprit is often a hidden ground wire that has corroded just enough to increase resistance without failing entirely. According to the National Institute for Automotive Service Excellence (ASE), a structured diagnostic approach that includes electrical load testing is essential because many sensors rely on a clean reference voltage to provide accurate data. If your ground is weak, every sensor on that circuit will provide ‘garbage’ data to the ECU, leading to a cascade of false codes.
Verify Mechanical Integrity Before Trusting the Software
It is a common pitfall to assume that a code for a ‘lean bank’ means the fuel pump is failing. However, a hidden filter that is quietly killing your fuel economy can cause similar symptoms without ever triggering a dedicated ‘low pressure’ warning until the engine is under heavy load. This is especially true in modern direct-injection systems where high-pressure pumps can compensate for a restricted low-pressure supply—until they can’t. If you are experiencing power loss during acceleration, don’t just read the codes; perform a physical flow test. Using the 20-dollar scan tool that actually finds hidden codes can help you look into specific manufacturer-side PIDs that generic tools miss. If you have ever been baffled by a check engine light that comes and goes, we want to hear about it in the comments below—your experience might be the key another driver needs to solve their own diagnostic puzzle.
The Math Behind the Mystery: Why Your ECU Overcompensates
When you analyze the fuel trim cells, you begin to see a pattern that transcends simple OBD-II warnings. The Engine Control Unit (ECU) operates on a mathematical model called Volumetric Efficiency (VE), which calculates exactly how much air should be entering the cylinders based on the throttle position, manifold pressure, and temperature. A breach in the exhaust manifold disrupts this delicate calculation. When oxygen enters through a crack, it isn’t just a physical leak; it’s a data corruption event. The ECU sees a lean signal and adds fuel, but since the leak is often turbulent, the fuel delivery becomes erratic. This leads to what master technicians call ‘fuel trim drift,’ where the long-term trims compensate so heavily that the vehicle loses its ability to adapt to actual environmental changes like altitude or humidity. If you find your vehicle struggling to adjust after a long highway drive, it is time to look at the data pids for VE rather than just checking for a code.
Why Does My Short-Term Fuel Trim Spike Only at Idle?
This specific symptom is a hallmark of high-vacuum mechanical failures. At idle, engine vacuum is at its highest, which can pull a significant amount of unmetered air through even the tiniest intake gasket leak or a pinhole in a vacuum-sensitive exhaust component. As you increase the throttle, the vacuum drops, and the relative impact of that leak diminishes, causing the fuel trims to appear normal at cruising speeds. This ‘disappearing’ problem often leads technicians to incorrectly replace the fuel pump or injectors. According to technical specifications in the Robert Bosch GmbH Automotive Handbook, even a 2% deviation in the stoichiometric ratio can significantly increase tailpipe emissions and heat-stress the engine valves. If your scan tool shows trims returning to zero at 2,500 RPM, you aren’t looking at a fuel delivery issue—you are looking at a vacuum-related air leak.
Don’t Just Read Codes—Watch the Waveform
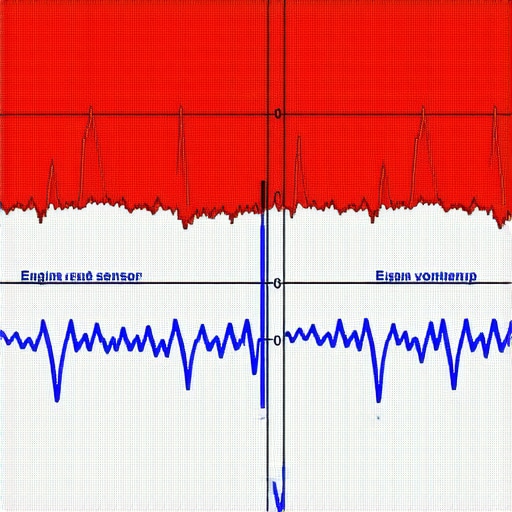
Sophisticated auto repair requires moving beyond static code reading and into the realm of waveform analysis. A standard oxygen sensor should ‘switch’ between 0.1 and 0.9 volts several times per second. If the waveform appears lazy or rounded, the sensor is likely ‘poisoned’ by oil or coolant, a common byproduct of long-term exhaust leaks that have forced the engine to run too rich. Using an oscilloscope allows you to see the ‘cross-counts’ of the sensor. If the sensor is slow to respond, the ECU will always be one step behind the engine’s needs, causing the hesitation and ‘hunting’ for gears we discussed earlier. To truly master the hidden world of vehicle diagnostics, you must learn to interpret the speed of the signal, not just the value.
The Hidden Cost of Delayed Sensor Response Times
Research from Delphi Technologies suggests that a degraded oxygen sensor can reduce fuel economy by as much as 15% before it ever triggers a Check Engine Light. This ‘grey zone’ of performance is where most vehicle owners lose money. The sensor might still be switching, but if its reaction time has doubled due to carbon soot from an upstream leak, the ECU is essentially flying blind during rapid acceleration. This is why we always recommend a proactive look at your sensor data if you’ve recently performed a car service but didn’t see an improvement in MPG. Take a moment to scroll through your live data stream the next time you are at a stoplight; if your short-term fuel trim is bouncing more than 10% in either direction, your engine is working harder than it needs to. What happens next depends on how the ECU handles the cumulative heat of these micro-adjustments as the exhaust gas temperature begins to climb…
Why Your Catalyst Becomes a Furnace When Fuel Trims Drift
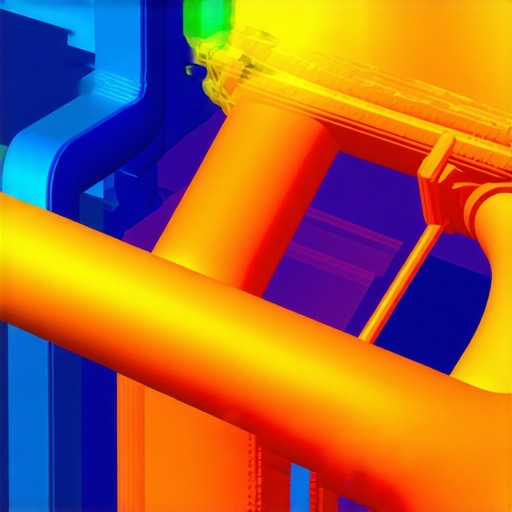
As the exhaust gas temperature (EGT) climbs, the structural integrity of the entire downstream system is at risk. When the ECU overcompensates for a perceived lean condition—often triggered by those microscopic manifold cracks discussed earlier—the resulting rich mixture doesn’t just waste fuel; it turns your catalytic converter into a thermal reactor. While most technicians focus on the ‘Bank 1 Lean’ code, few look at the downstream O2 sensor’s reaction to the rising heat. If the rear sensor begins to mimic the front sensor’s switching pattern, you aren’t just looking at a bad sensor; you are looking at a catalyst that has been physically melted by the ECU’s attempt to ‘fix’ a data error with more gasoline. This thermal runaway scenario is a silent killer of modern exhaust systems and can be identified early by monitoring the temperature differential between the catalyst inlet and outlet using an infrared pyrometer.
Stop Chasing Air When the Real Culprit is Electrical Noise
The interaction between electrical ‘noise’ and sensor accuracy is perhaps the most overlooked facet of 21st-century diagnostics. A failing diode in the alternator can leak alternating current (AC) into the direct current (DC) system. This ripple effect creates ‘ghost signals’ on the sensitive wiring of the mass airflow sensor (MAF). The ECU interprets this interference as rapid fluctuations in air intake, leading to erratic fuel trims that mirror a physical vacuum leak. Before you tear down the intake manifold or replace expensive gaskets, verify the health of your charging system with a multimeter set to AC volts; any reading above 50mV suggests that your electrical system is poisoning your data stream. Sophisticated auto repair strategies prioritize clean power as the foundation of all sensor-based logic.
Can a Failing Alternator Diode Mimic a Lean Condition?
Absolutely. Because sensors like the MAF and O2 sensors operate on low-voltage signals (often 0-5V or 0-1V), even a small amount of AC interference can shift the ground reference or introduce high-frequency spikes. This makes the signal appear erratic to the ECU, which defaults to a ‘safety’ fuel map that is usually rich, even if the scanner reports a lean condition. Data from the International Council on Clean Transportation (ICCT) highlights that real-world driving conditions often reveal these systemic diagnostic failures that standard OBD-II protocols miss during steady-state testing. This discrepancy underscores the necessity of dynamic testing—observing how the vehicle reacts to rapid load changes and electrical demands rather than just idling in a diagnostic bay.
The Latent Danger of Latency in Modern Wideband Sensors
Modern wideband (Air-Fuel Ratio) sensors are far more complex than their switching predecessors, utilizing a ‘pumping cell’ to maintain a specific oxygen concentration within the sensor itself. However, this complexity makes them susceptible to internal resistance changes that don’t always trigger a fault code. A sensor that is ‘slow’—but still within its operational window—can cause the engine to stumble during the transition from open-loop to closed-loop operation. This latency is often the root cause when a driver reports that their car feels sluggish only during the first five minutes of a drive. If you have encountered a ‘fixed’ code that returned within forty-eight hours, you likely have a latent mechanical or electrical variable still in play. To truly resolve these ‘phantom’ issues, you must cross-reference the sensor reaction time against the manufacturer’s baseline specifications. If you are ready to stop guessing and start solving, join our advanced technician forum to break down your specific data logs and find the root cause that traditional scanners missed.
Expert Insights and Advanced Considerations
Stop Blaming the Sensor for Harness Resistance Issues
One of the most frequent misdiagnoses in high-level auto repair involves ignoring the integrity of the wiring harness. Even if a sensor is brand new, a fraction of an ohm of resistance in the signal return line can shift the entire data scale, causing the ECU to adjust fuel trims based on a ghost signal. Always perform a voltage drop test on the sensor ground circuit before condemning the component itself.
Correlating Fuel Trims with Volumetric Efficiency Models
Mastering the hidden world of vehicle diagnostics means understanding that fuel trim is a result rather than a cause. By using a calculated Volumetric Efficiency (VE) table, you can determine if the engine is physically moving the amount of air it claims. If your VE is low at high RPM, you are likely looking for an exhaust restriction or a clogged intake rather than a simple vacuum leak.
The Thermal Signature of a Failing Catalyst
Early detection of catalyst failure is possible by monitoring the temperature differential across the unit. A healthy converter should be significantly hotter at the outlet than the inlet due to the exothermic chemical reaction. If the temperatures are identical, the catalyst is no longer lighting off, often poisoned by the very ‘false lean’ conditions caused by upstream leaks we have analyzed in this guide.
#IMAGE_PLACEHOLDER_E#
Curated Expert Resources
SAE International Technical Papers: These documents provide the raw engineering data behind modern sensor logic and emissions strategies, which is essential for technicians moving past basic shop manuals.
ASE Test Prep and Training: This is the gold standard for certifying that a technician understands the systemic relationship between electrical, mechanical, and software-based systems.
The Robert Bosch Automotive Handbook: Often referred to as the bible of automotive engineering, this resource is unparalleled for understanding the physics of fuel injection and sensor feedback loops.
Final Expert Perspective
True diagnostic mastery requires a paradigm shift toward viewing the vehicle as a unified ecosystem where a mechanical breach in a five-dollar gasket can trigger a cascade resulting in transmission failures or a catalytic meltdown. By combining digital data analysis with physical pressure testing—using techniques like the 12-dollar vacuum leak trick—you bridge the gap between guessing and knowing. If you find yourself stuck in a diagnostic loop, reach out to our expert team for a deeper dive into your specific data logs. Stay analytical, verify the mechanical foundation first, and never let a scan tool override the physical evidence of your own testing.